Scheduling Modeling
Last modified: December 09, 2019
Dbt is a great tool for creating, storing, and then running queries against a database. These queries can be for any purpose but we will be talking about how they can be used to create and update simplified tables and views. This allows you to create a set of table and views that are more easily queryable by the rest of your organization so they can find insights faster. Making data easier to use is an important piece of optimizing your SQL and Data Warehouse because this is where most of the time is spent, determining the right query to run.
You can automate these queries that simplify the data to run on a schedule with dbt Cloud. In order to use dbt Cloud you need to set up dbt linked to a GitHub repository and a data warehouse. If you have not done this already you can check out The Data School’s article on dbt and BigQuery here.
Setting up dbt Repository
Once you have set up your dbt and BigQuery, you need to set up your GitHub repository to store your dbt files. To do this, first go into your GitHub and create a new repository. Copy the link to that new repository and save it, you will need it to link your dbt files.
Now, in your dbt folder run these commands:
‘git init.’ ‘git add .’ ‘git commit -m ‘commit message’’ ‘git remote add (the URL you saved)’ ‘git push -u origin master’
After this you can refresh your GitHub account to make sure you have all your files and you are ready to begin scheduling dbt.
Using dbt Cloud
Once you have created your dbt Cloud account there are just a few steps between you and automated dbt runs.
- Link your dbt repository to your dbt Cloud account
In the side menu select “Repositories”:
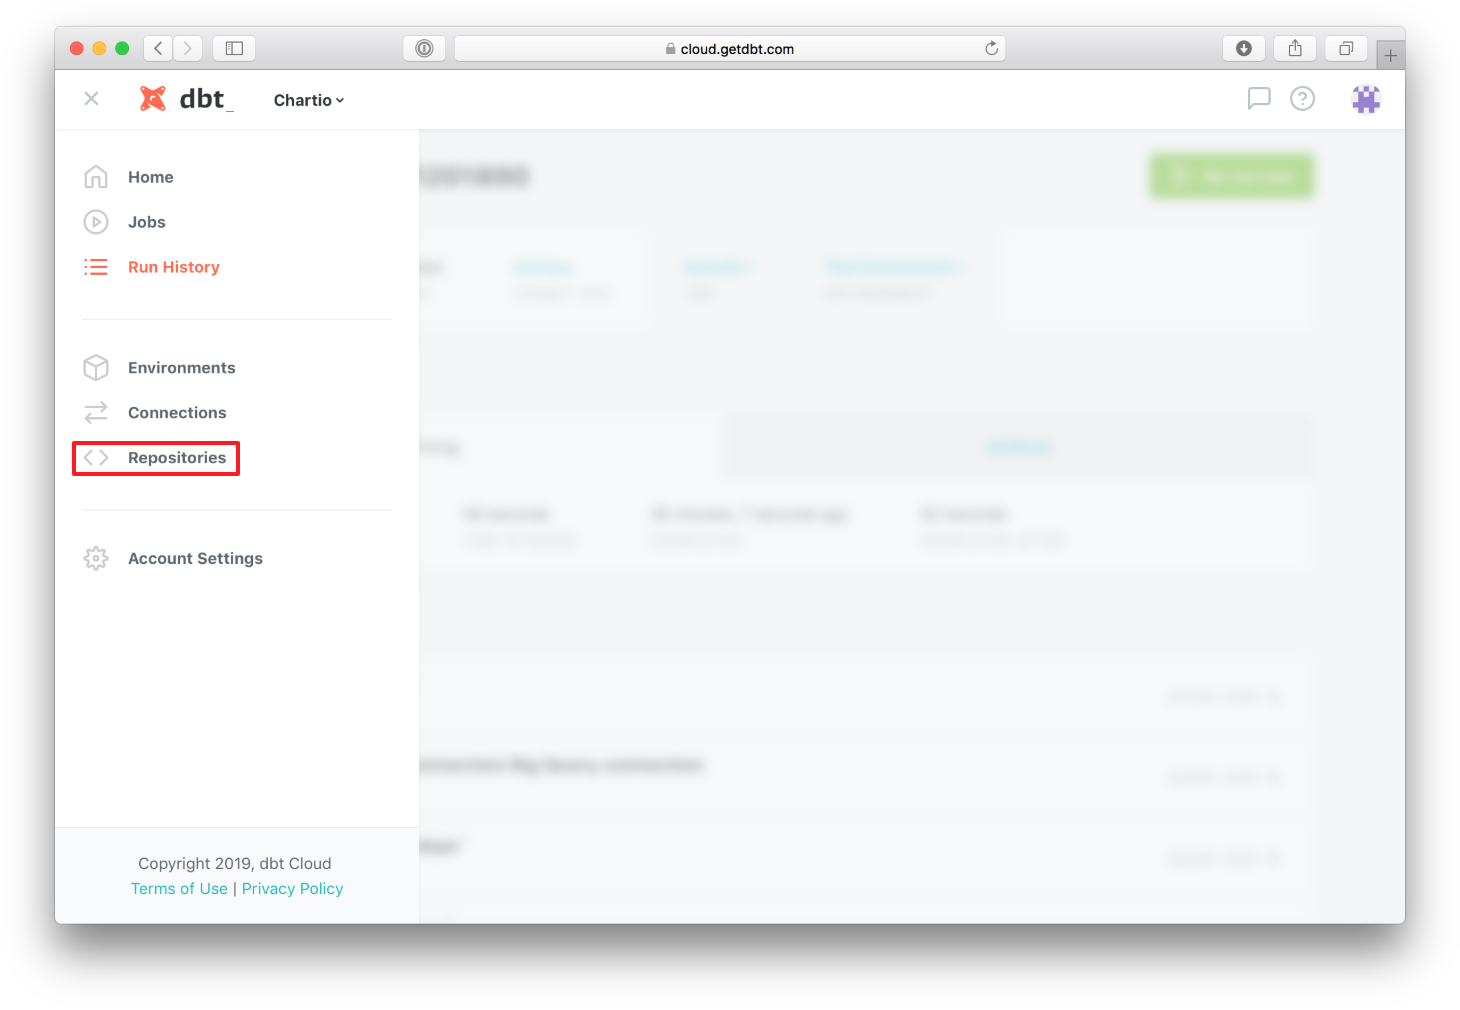
Click “Add New Repository” and link your GitHub account to your dbt account.
- Create a dbt Cloud connection
In the side menu select “Connections”:
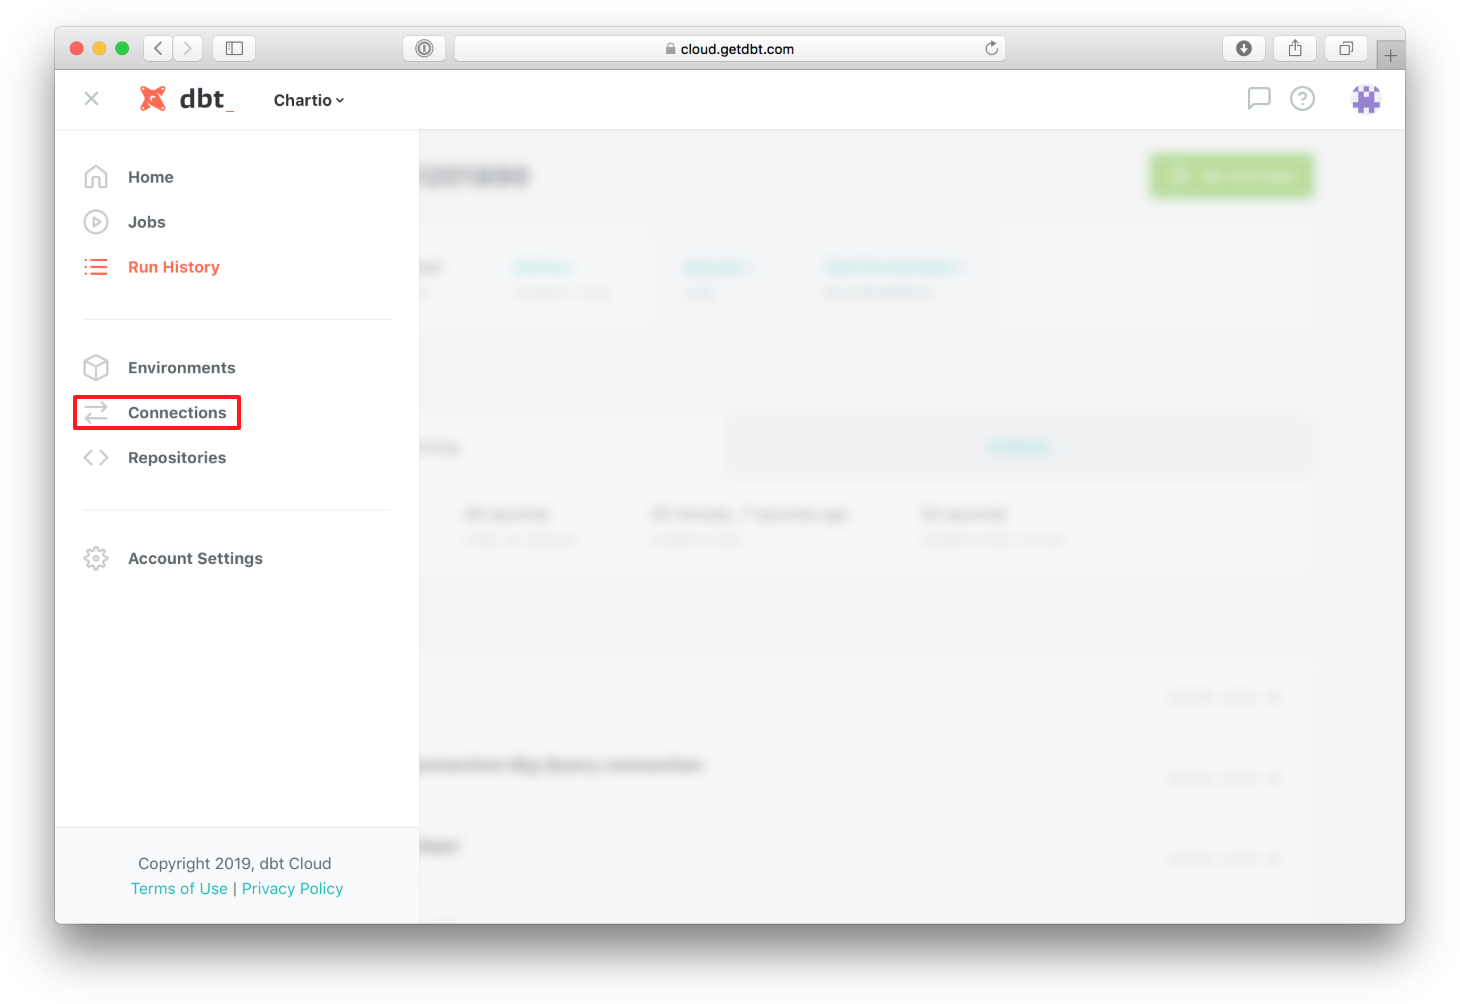
Then click “New Connection”:
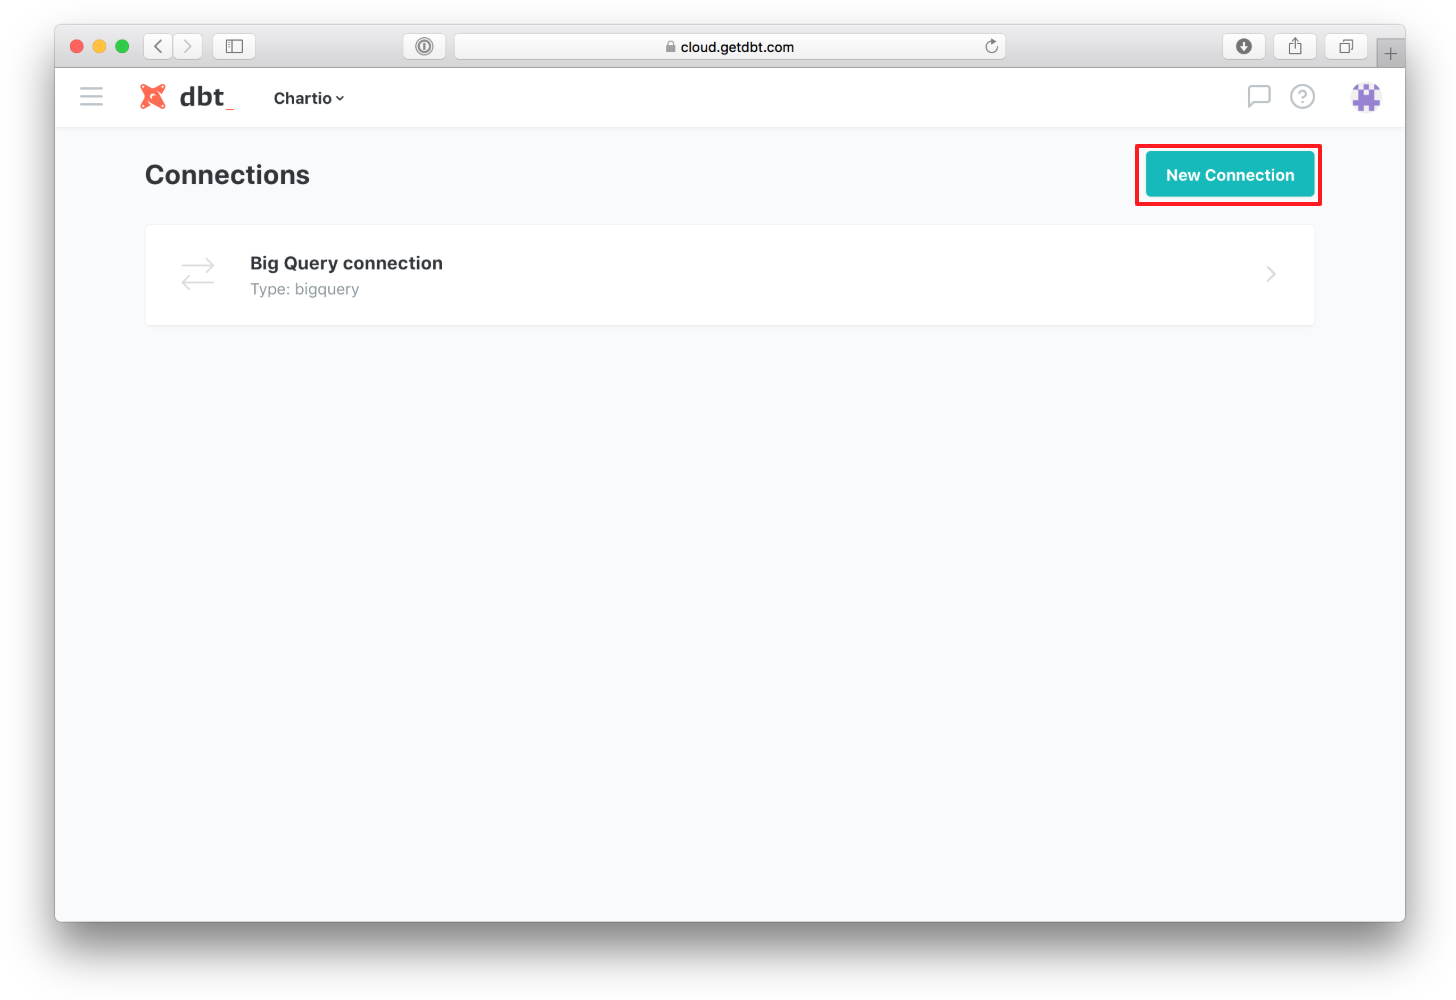
In the “Type” drop down, select the type of database you want to connect. For this example, we will connect a BigQuery database:
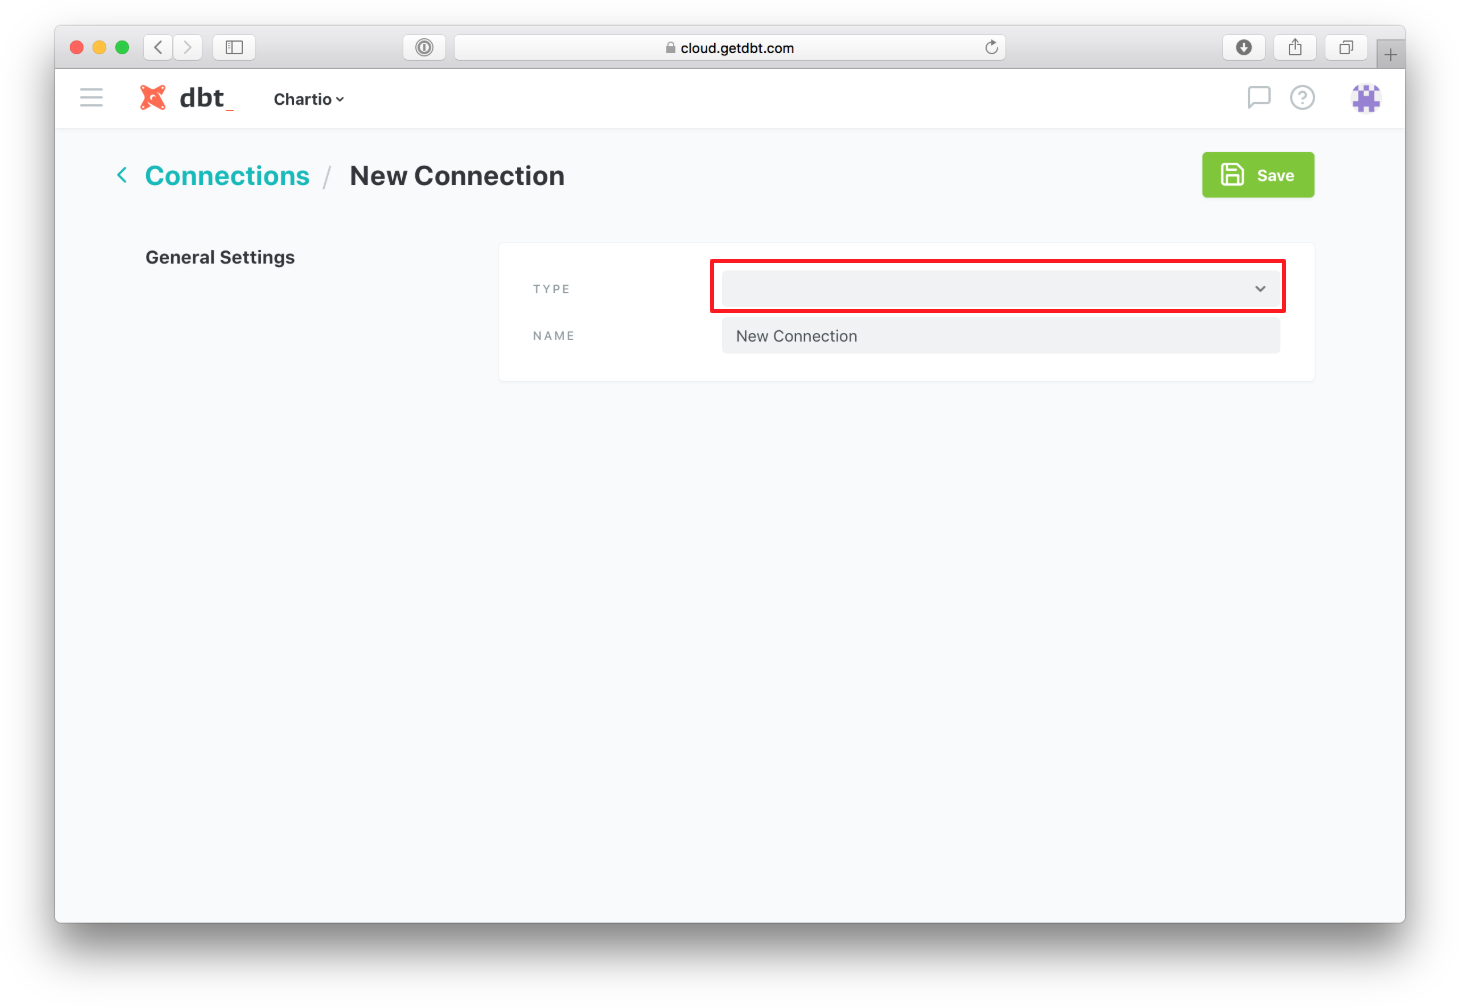
The easiest way to fill in the information to build your “Connection” is to “Upload a Service Account JSON file” that you used when linking dbt to your BigQuery account:
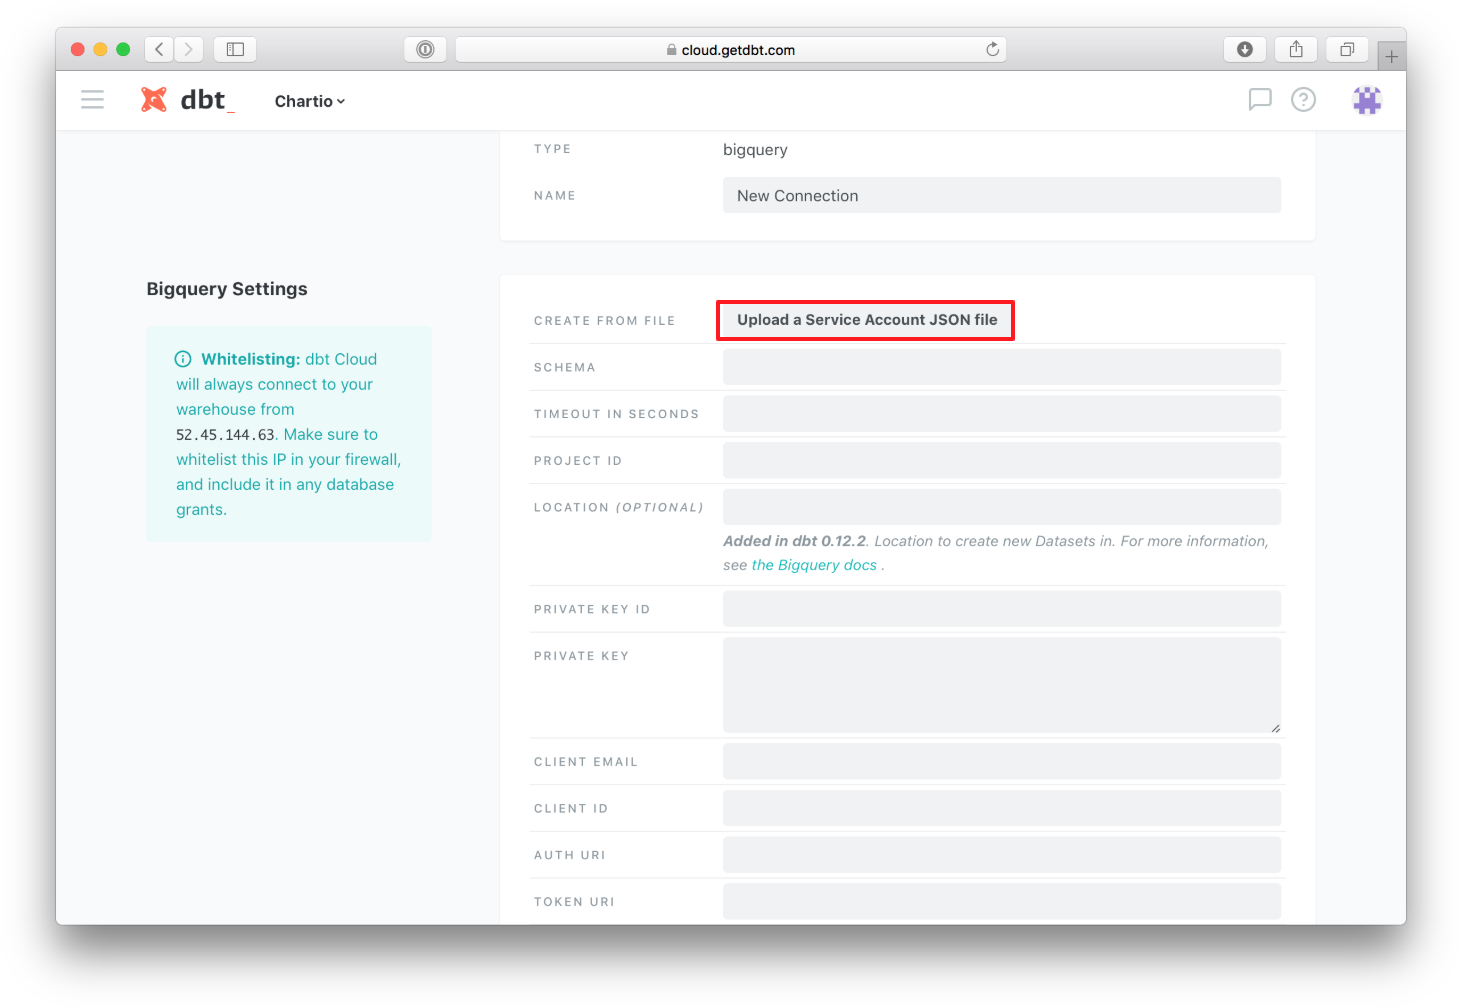
Now the only information you should have to fill out for yourself is the “Schema”, the name of the table in your BigQuery to connect to:
and your desired “Timeout in Seconds”, the length of time your query is allowed to run before the system terminates it:

Once you have filled out those two fields, you can press “Save” in the top right.
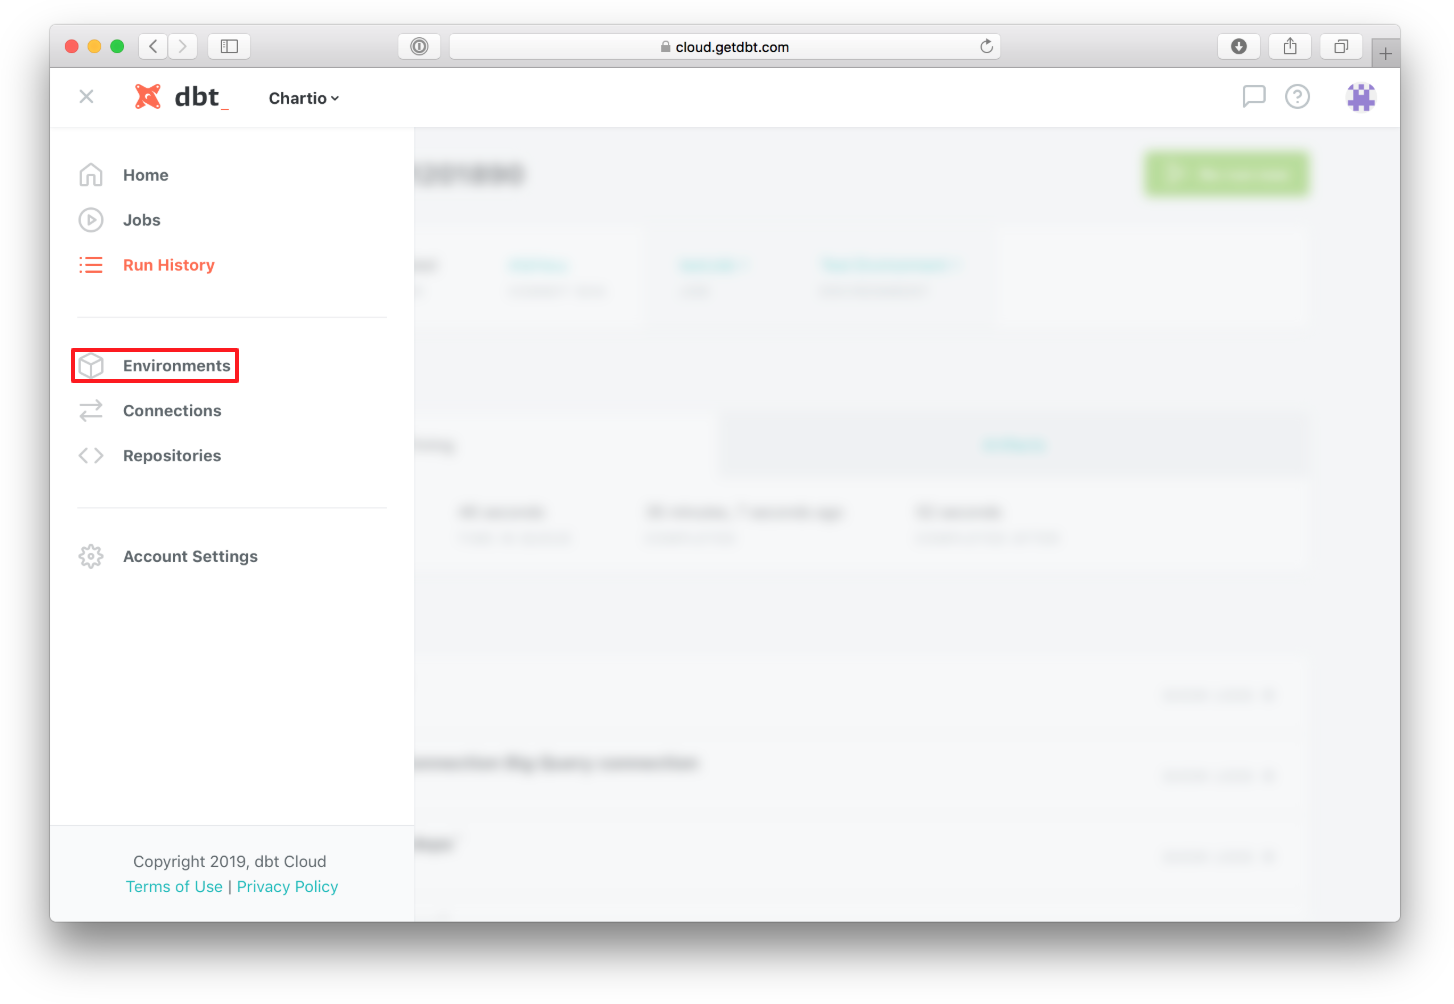
- Create a dbt Cloud environment
In the side menu select “Environments”:
Then select “New Environment” to create your environment:
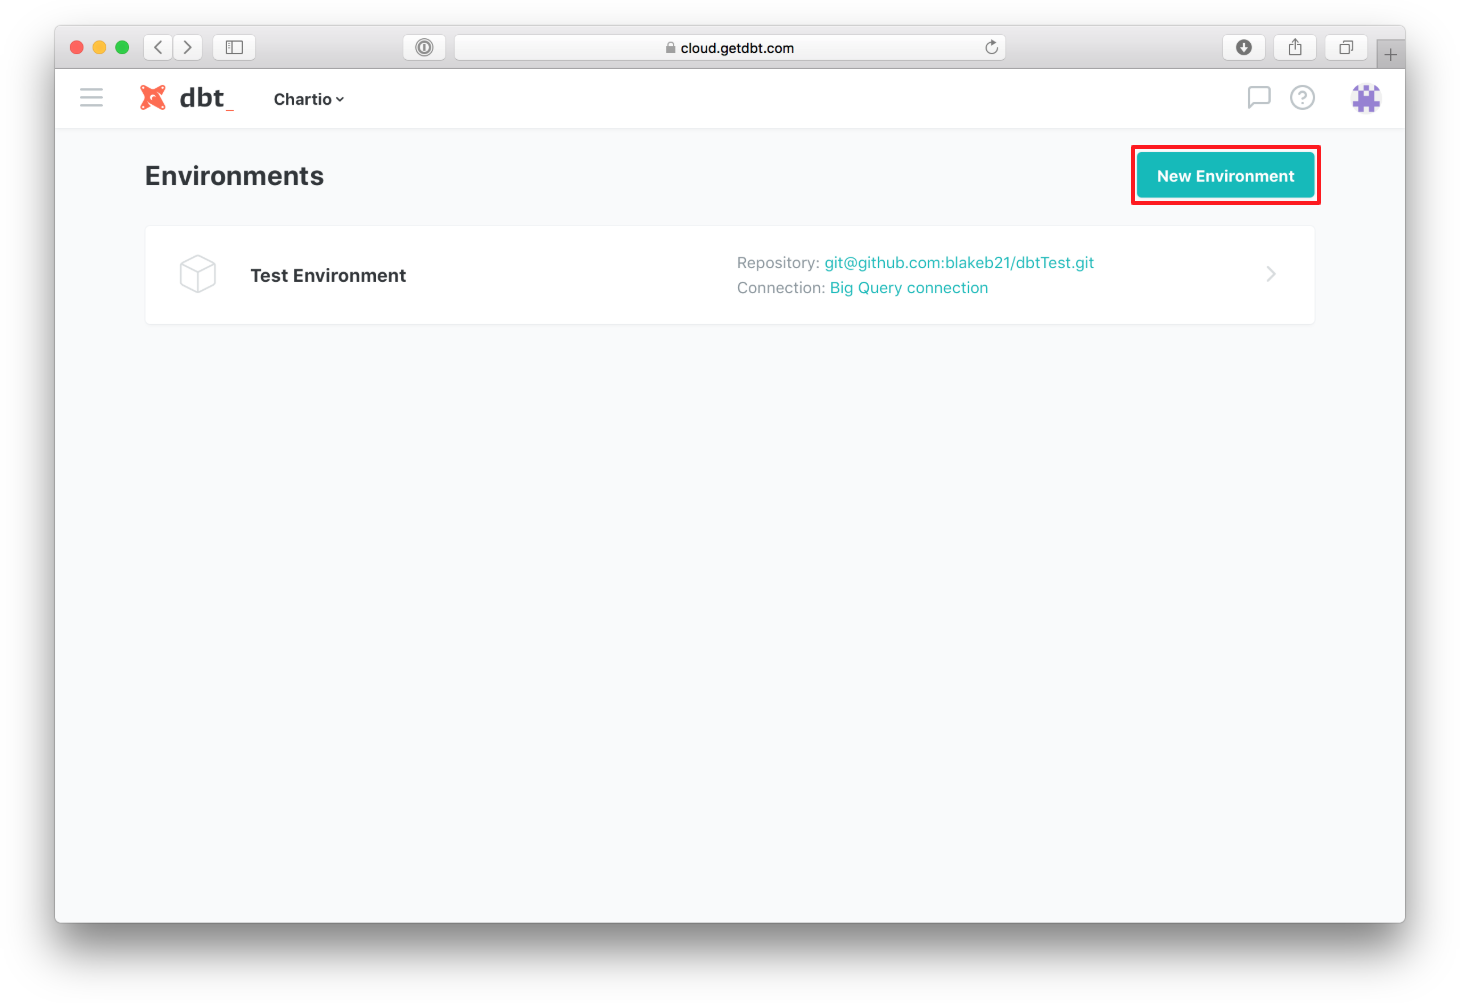
Then begin filling in the required information. Give your “Environment” a name, select the repository you would like to link it to, and select the database “Connection” you would like this environment to have:
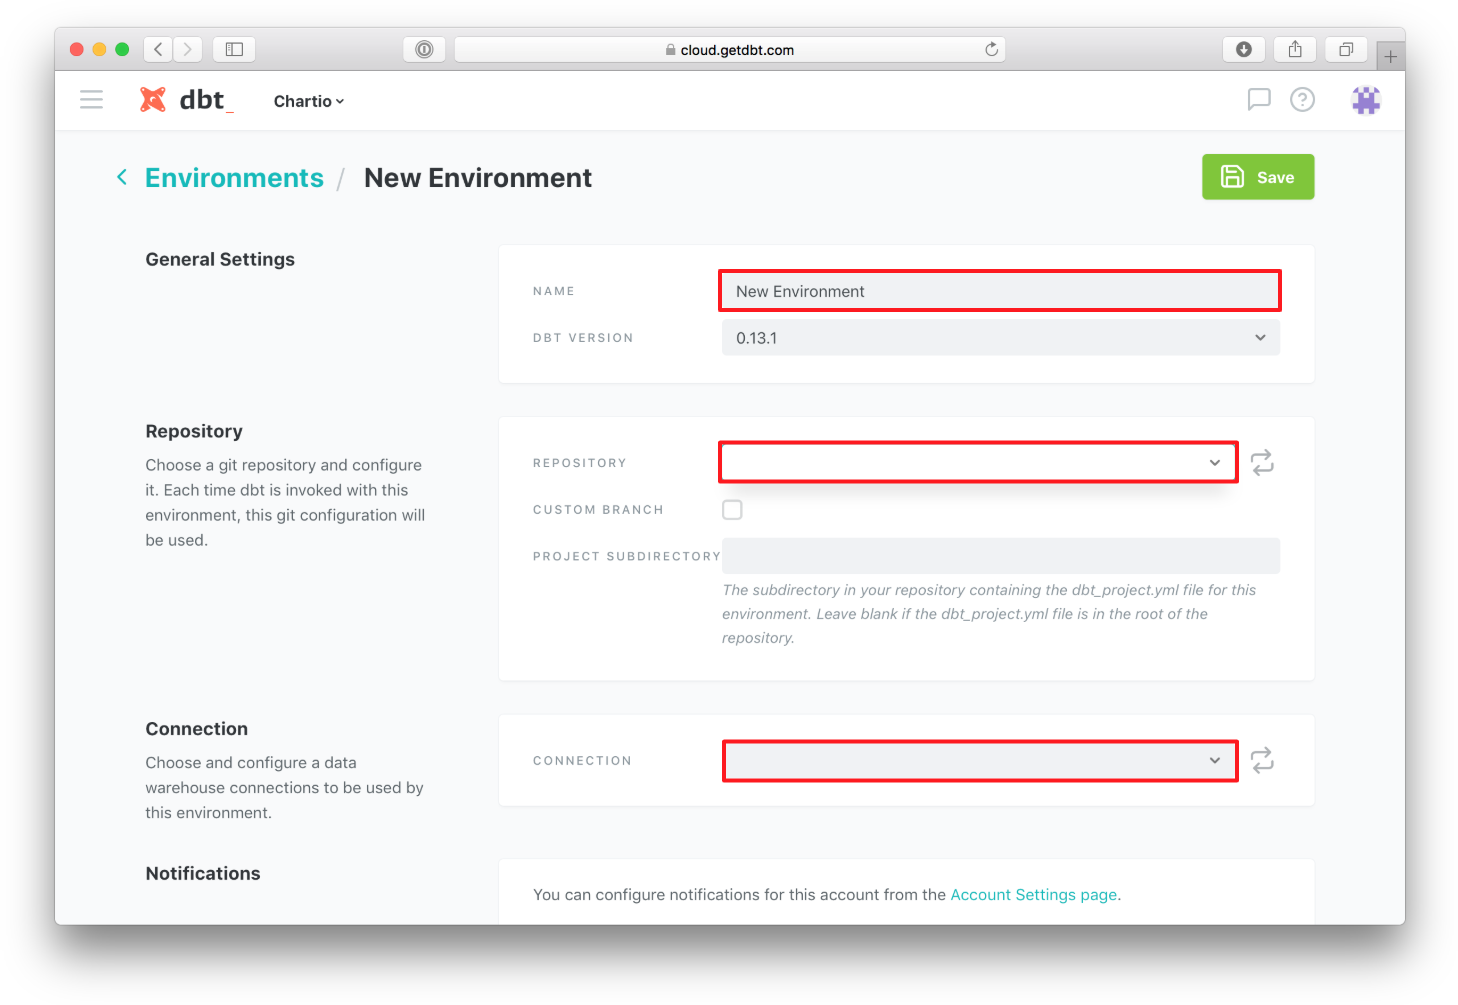
Once you have selected your desired options from the drop down menus, click “Save” to save this “Environment”.
- Schedule your first job
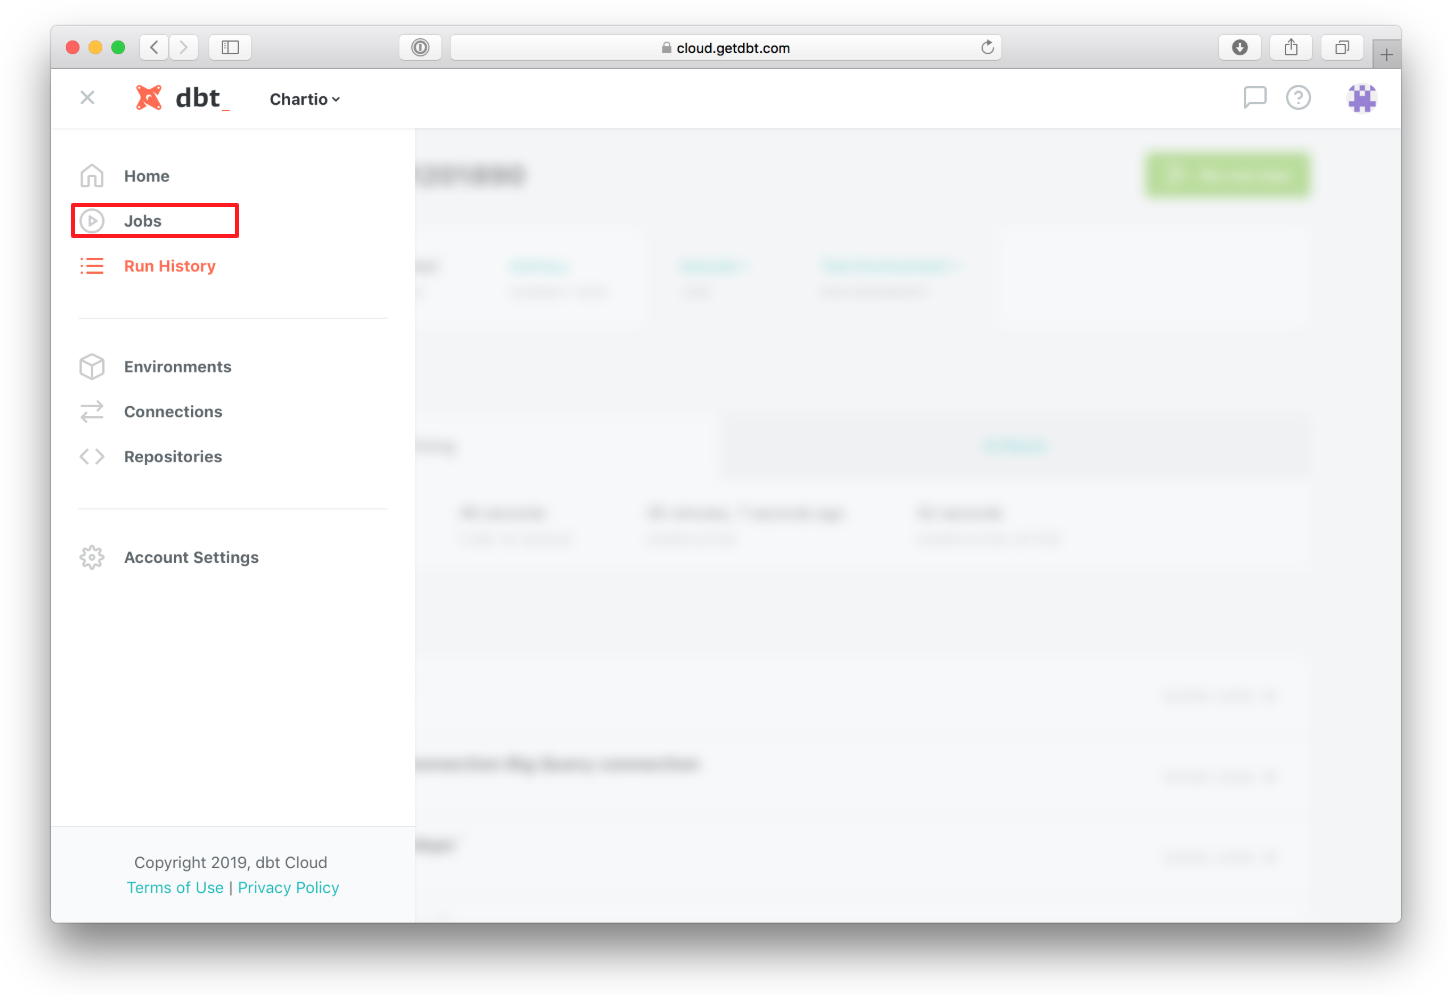
To schedule your first dbt query, select “Jobs” from the side menu:
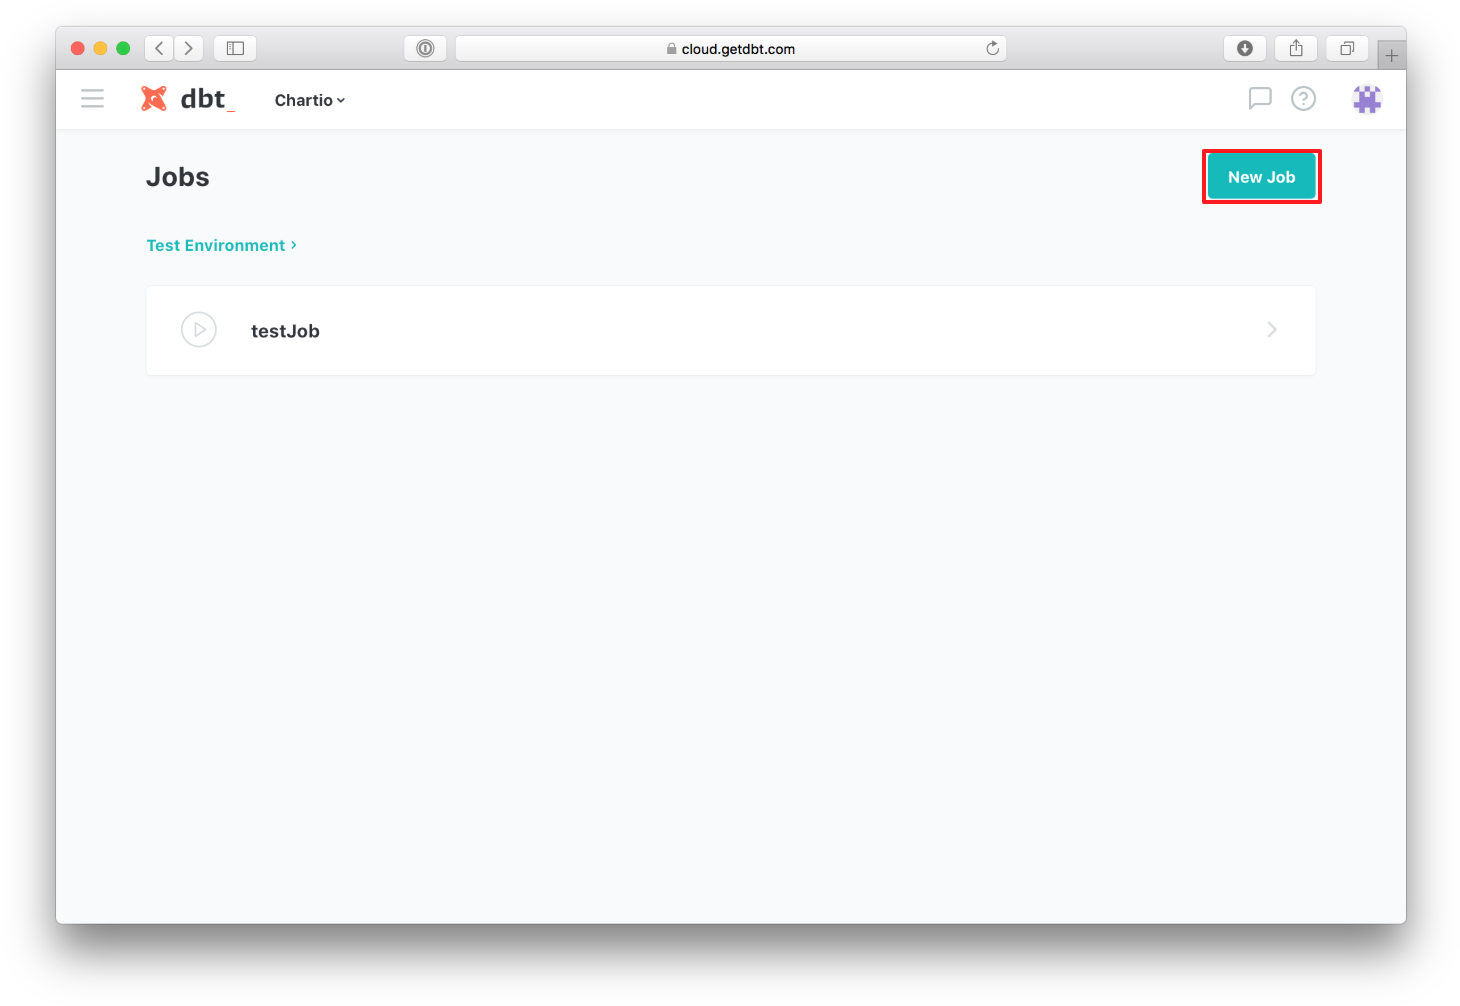
Click on “New Job”:
Give your new “Job” a name, select the “Environment” you want to automate, you can also change the “Run Timeout” by default the query will never timeout:

Next, you can tell the “Job” which dbt commands to run, ‘dbt run’ is used by default. Finally, you can tell the “Job” when you want it to run:

Once you have filled in all the required fields, you can click “Save” in the top right and the job will begin running on schedule. Now your queries will be regularly updated and ready to use by others in your organization.
Summary
- Create your dbt and BigQuery instances
- Link your dbt files to a GitHub repository
- Link your GitHub repository to dbt Cloud
- Connect your database to dbt Cloud
- Create an “Environment” linking your repository and database
- Create a “Job” to automatically run your “Environment”
References
Written by:
Blake Barnhill
Reviewed by:
Matthew Layne
,
Matt David